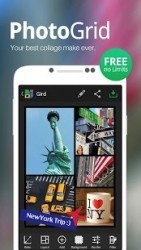
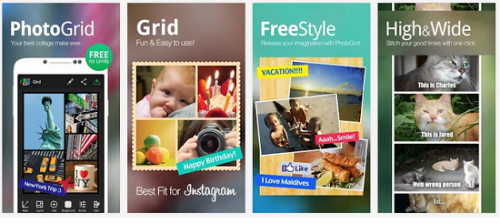
Over 100 millions fans, Photo Grid is the most popular Instagram collage maker. With Photo Grid Free, you can combine ordinary photos into worth-share photo collages; you can decorate your pics by applying fantastic filter, adding stickers and text.

1.) Once you have the app downloaded from the play store this will be your start screen. You have several options to choose from:
grid, free, high, single, and wide. I love using the free style option.
2.) Tap the option you would like (I am using the free style for this tutorial.) and it will open the screen to your phone gallery. Choose which photos you would like to use and from what folder. A recent addition is the option of choosing pics straight from your Facebook pics or from your Flickr gallery. (See the little cloud with the word new on it on the top?) You would need to tap that option.

3.) I usually use 3 pics for the free style option but you can choose more or less depending on what look you are trying to achieve. Click the green arrow on the bottom right of the screen to proceed.
4.) This will be the screen you see. The background may look different depending on what you used before. You can tap each photo individually and re-size and move them however you like.
5.) When you are finished lining up the photos you can change the background to your liking. Tap the little square with parallel lines on the bottom right of your screen and your options will pop up. There are many to choose from. I chose to use a solid color for this one.
6.) Tap the color chooser on the left of the screen (second row from bottom) and make your choice by tapping one of the color squares available. After that tap the arrow on the left of the color grid and voila, your background is a nice light blue.
7.) Tapping the smiley face on the bottom will give you some overlay choices. In this case I chose a I love PhotoGrid overlay by tapping it and then tapping the green check mark on the top right of the screen. You can adjust the size and placement of the overlay depending on where you would like it on your collage. Sorry, I forgot to take a proper screenshot for this option.
8.) You can also add text to your collage by tapping the T on the bottom of your screen and then typing the text of your choice into the provided area. When you are finished, tap the green check mark on the top right of your screen.
9.) Again, you can adjust the size and layout of your text by manipulating the text box. There are many options for changing the font (Aa), color and look of the text. When you are happy with the results, tap the little red arrow on the bottom left of the screen.
10.) The last step would be to either save or share the finished collage. On the top of the screen, to the right you can see the sharing symbol and right next to it is a green safe button. I usually share straight to Instagram by choosing the share button and then the last resolution option of the 4 that pop up. See the handy Instagram sign (red arrow)? That makes it really simple to figure out what you should choose.
Photo grid application likely expert editor
See more: http://photo-grid.org/
Không có nhận xét nào:
Đăng nhận xét